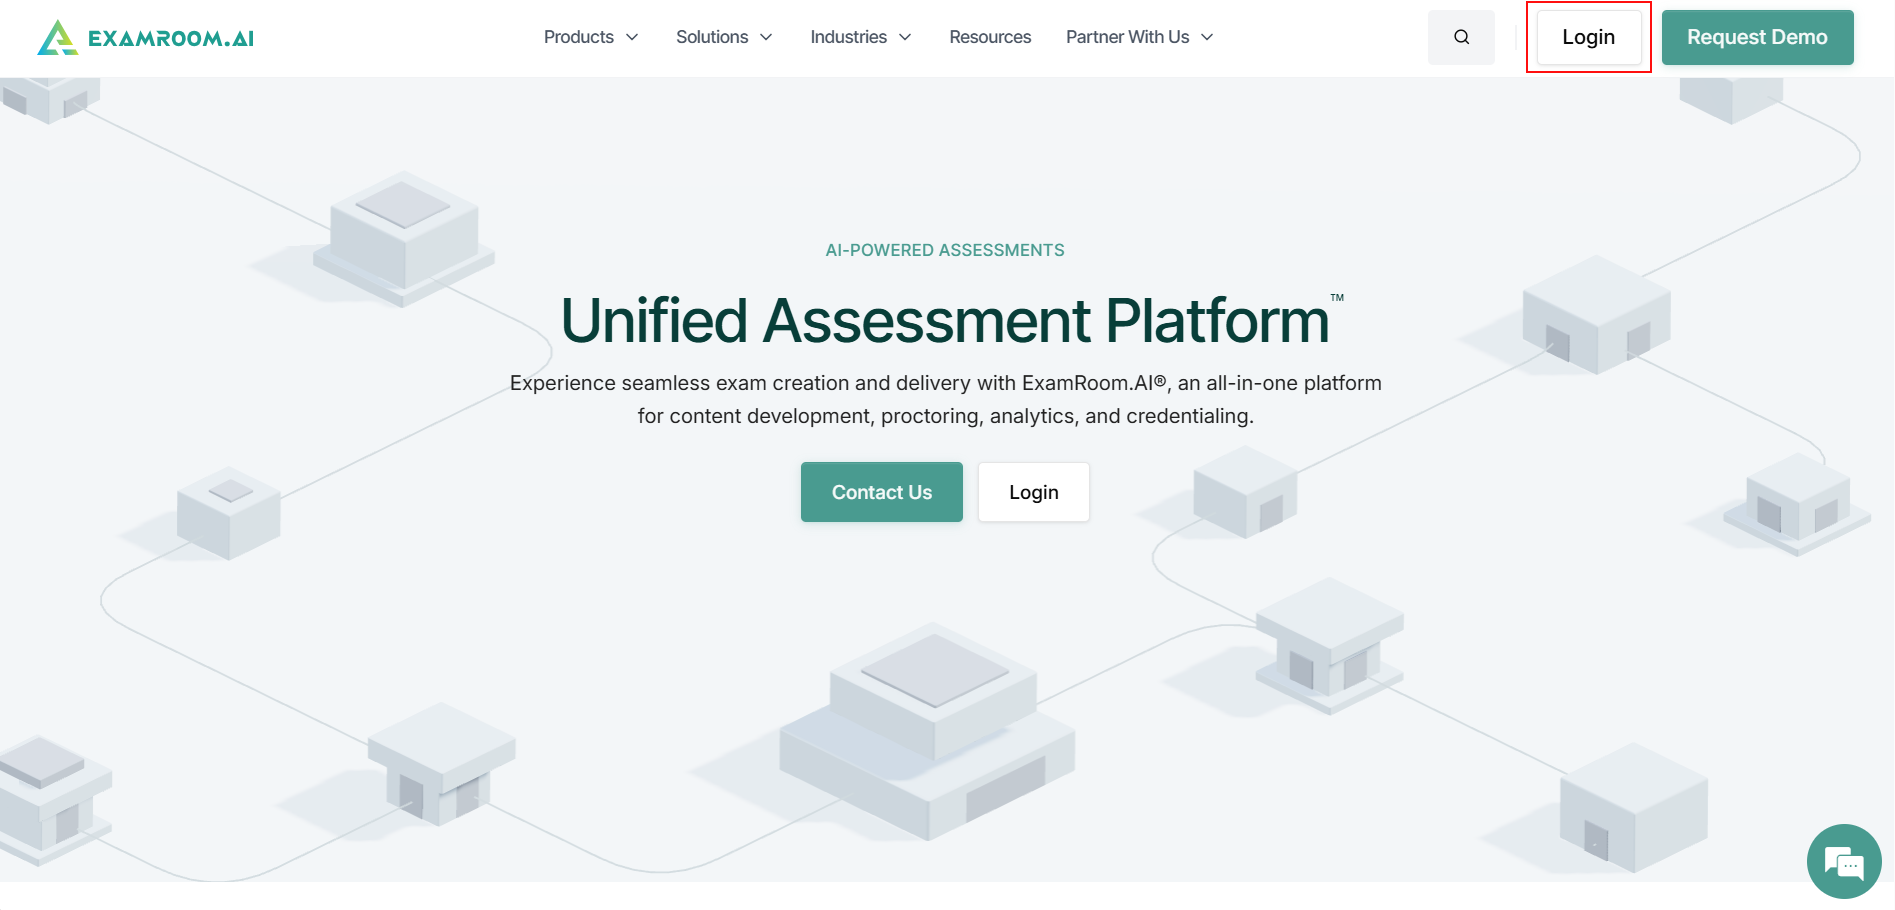
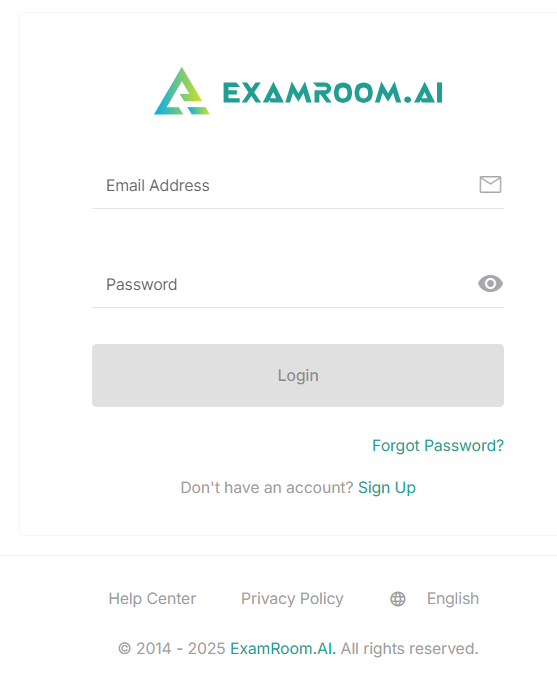
Visit app.examroom.ai to log in to the candidate console. You can also go to examroom.ai and click Login in the top-right corner of the page.
If you already have an account, please enter your credentials and click Login.
Start Exam
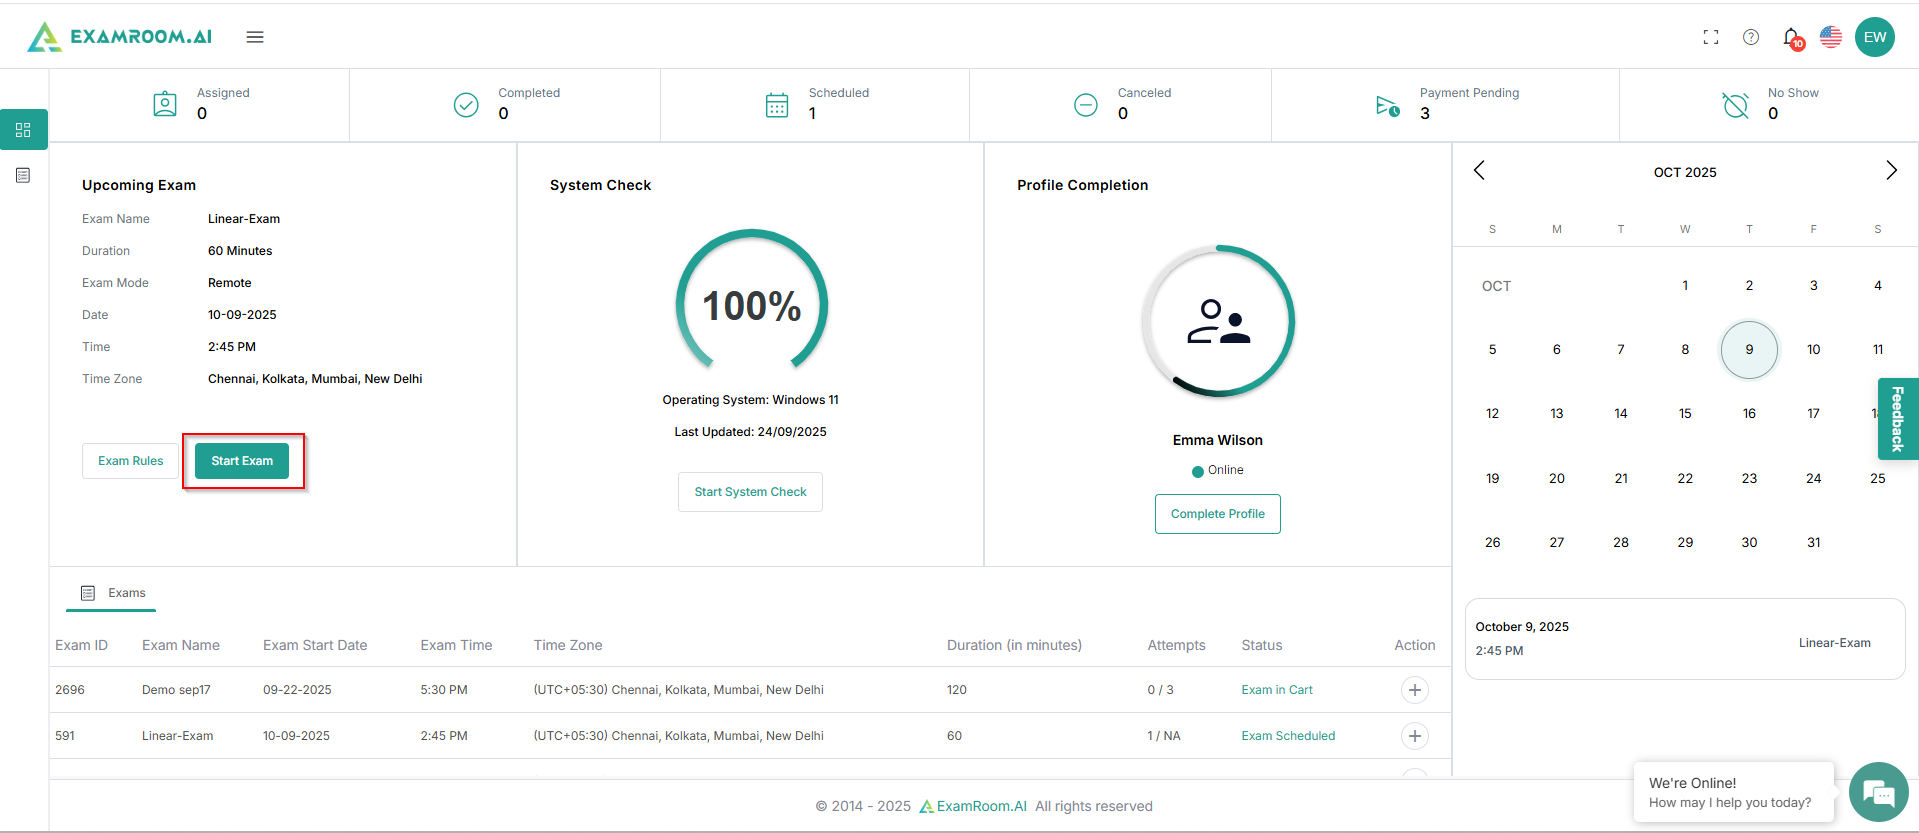
On the Candidate Dashboard, under the UpcomingExam section, click StartExam.
Note: The start exam button will be enabled only 15 minutes before the scheduled time.
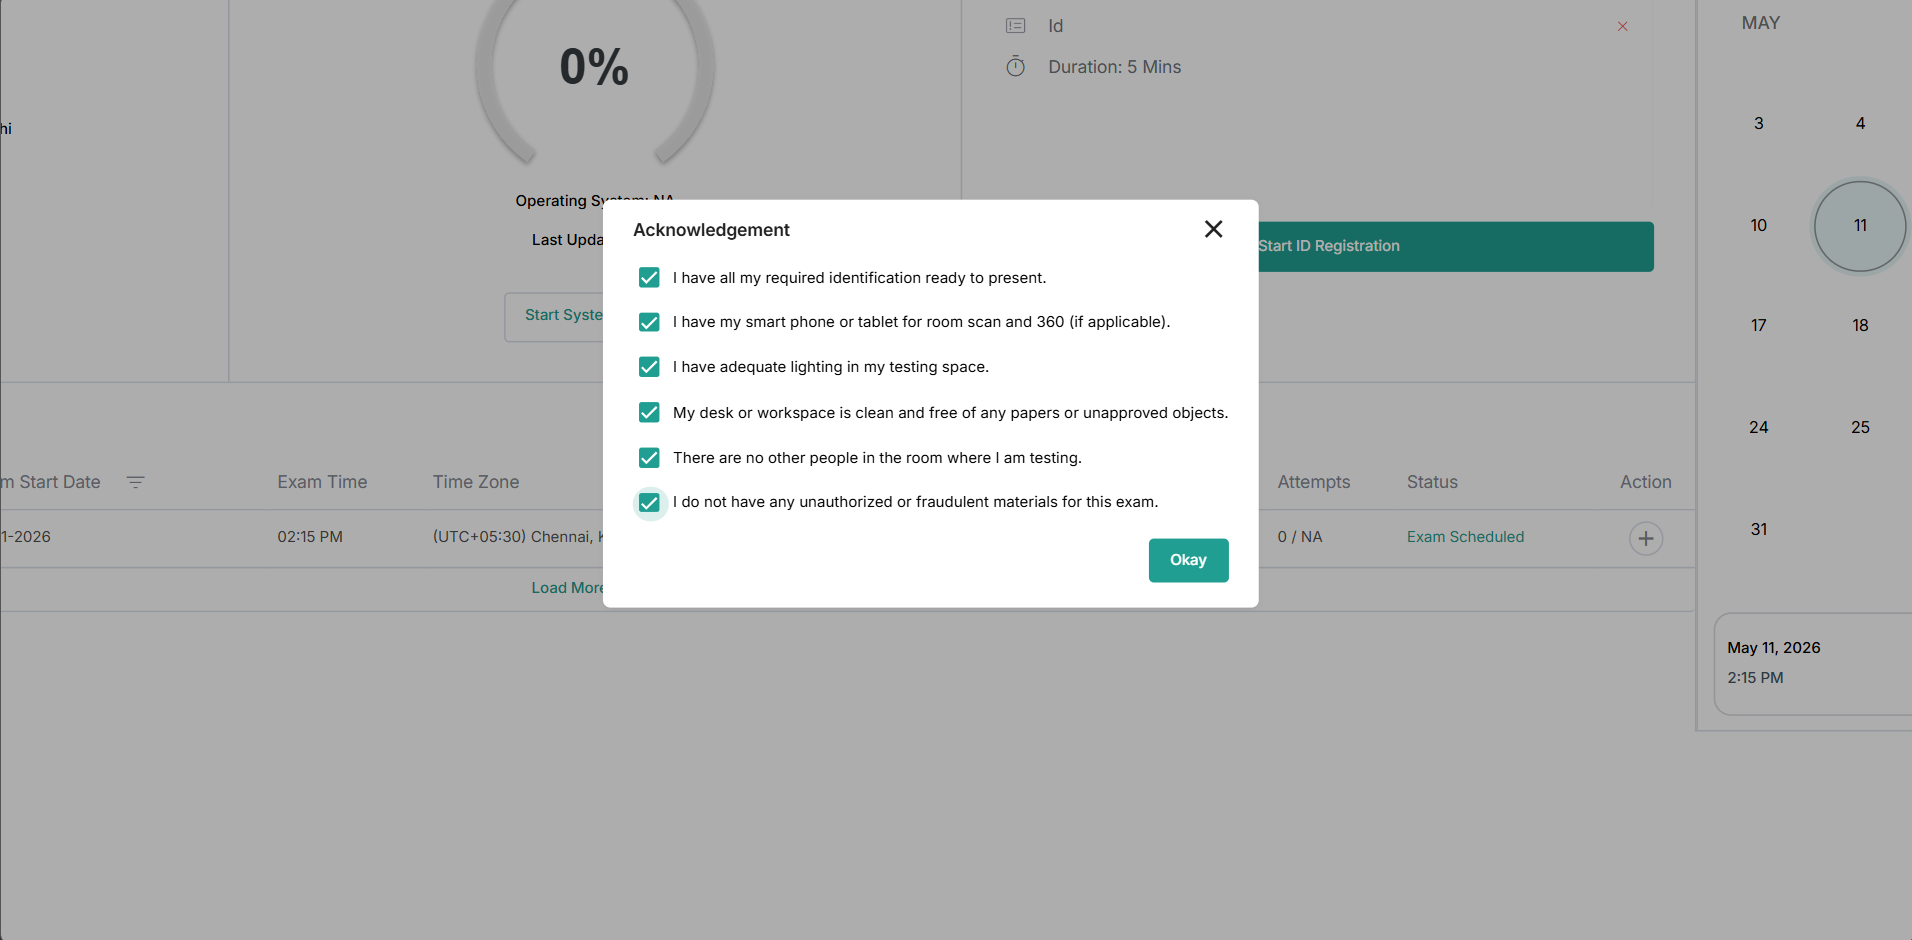
Review the Acknowledgement, check the boxes, and click Okay to proceed.
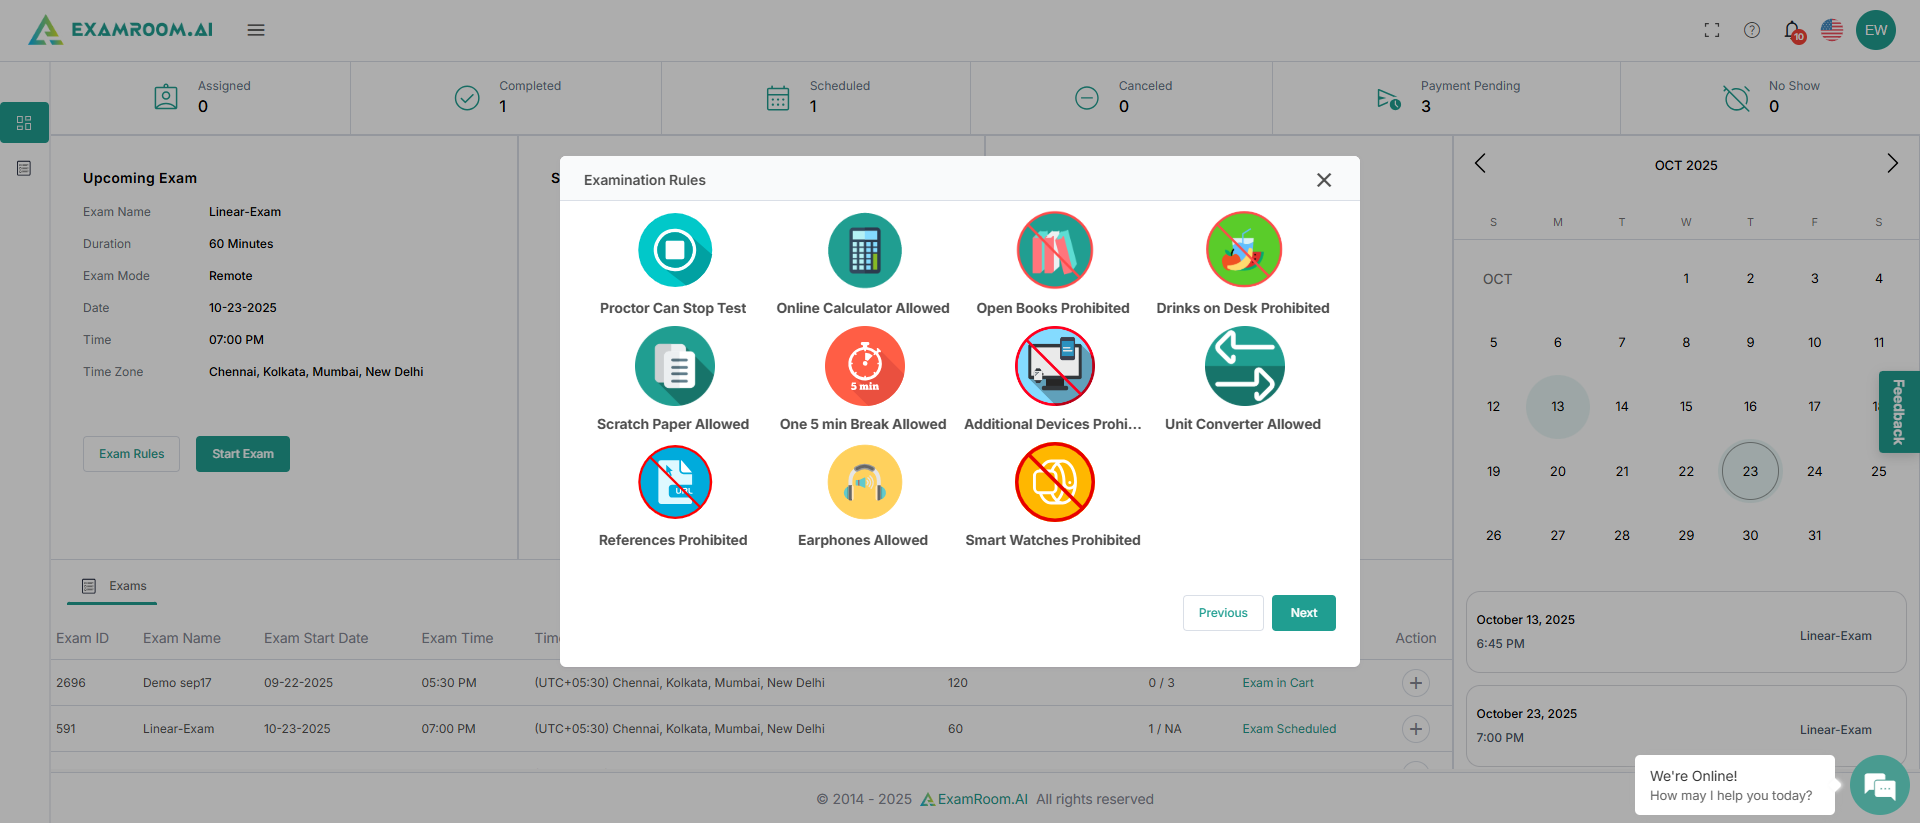
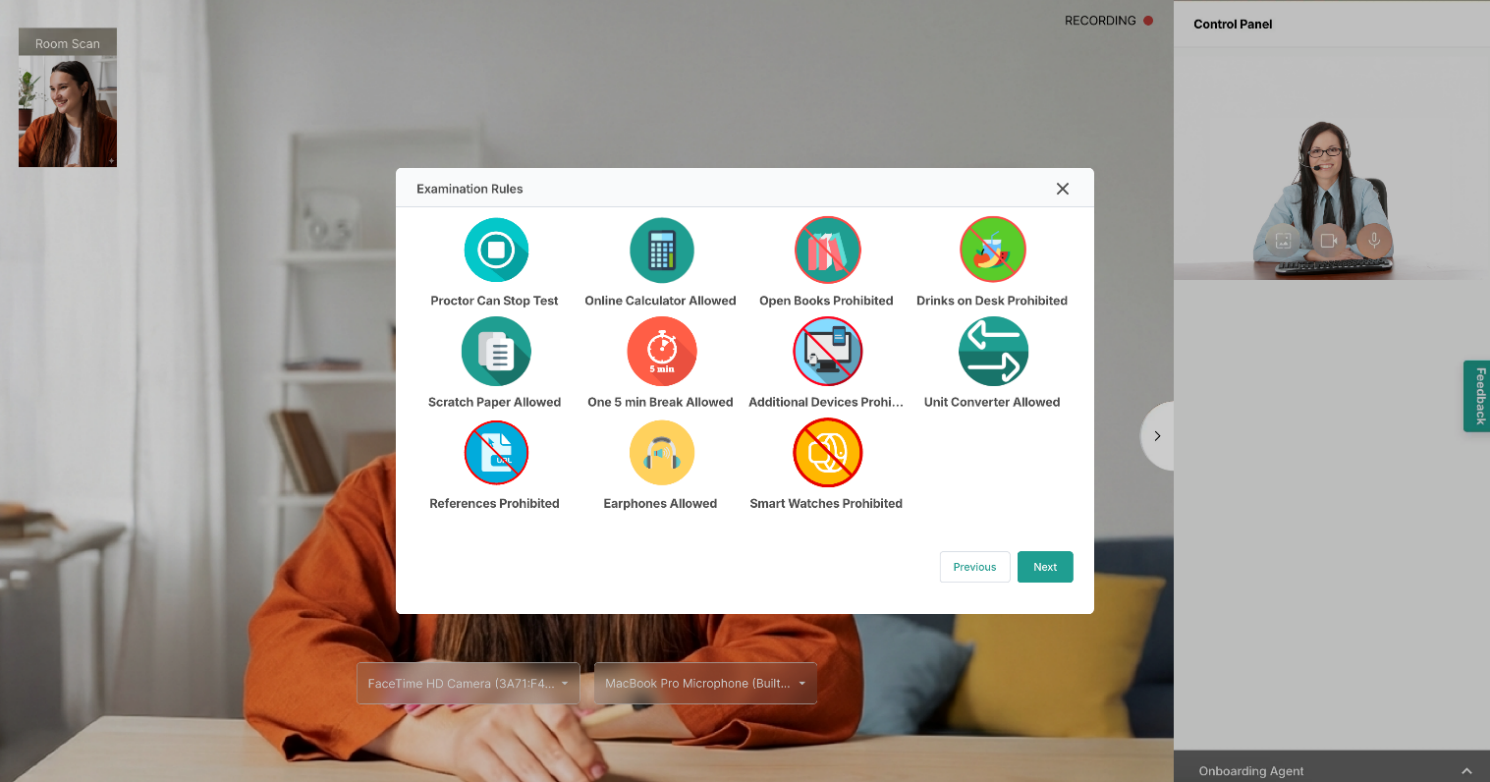
After acknowledgement, the Examination Rules appear. Review and click Next to proceed.
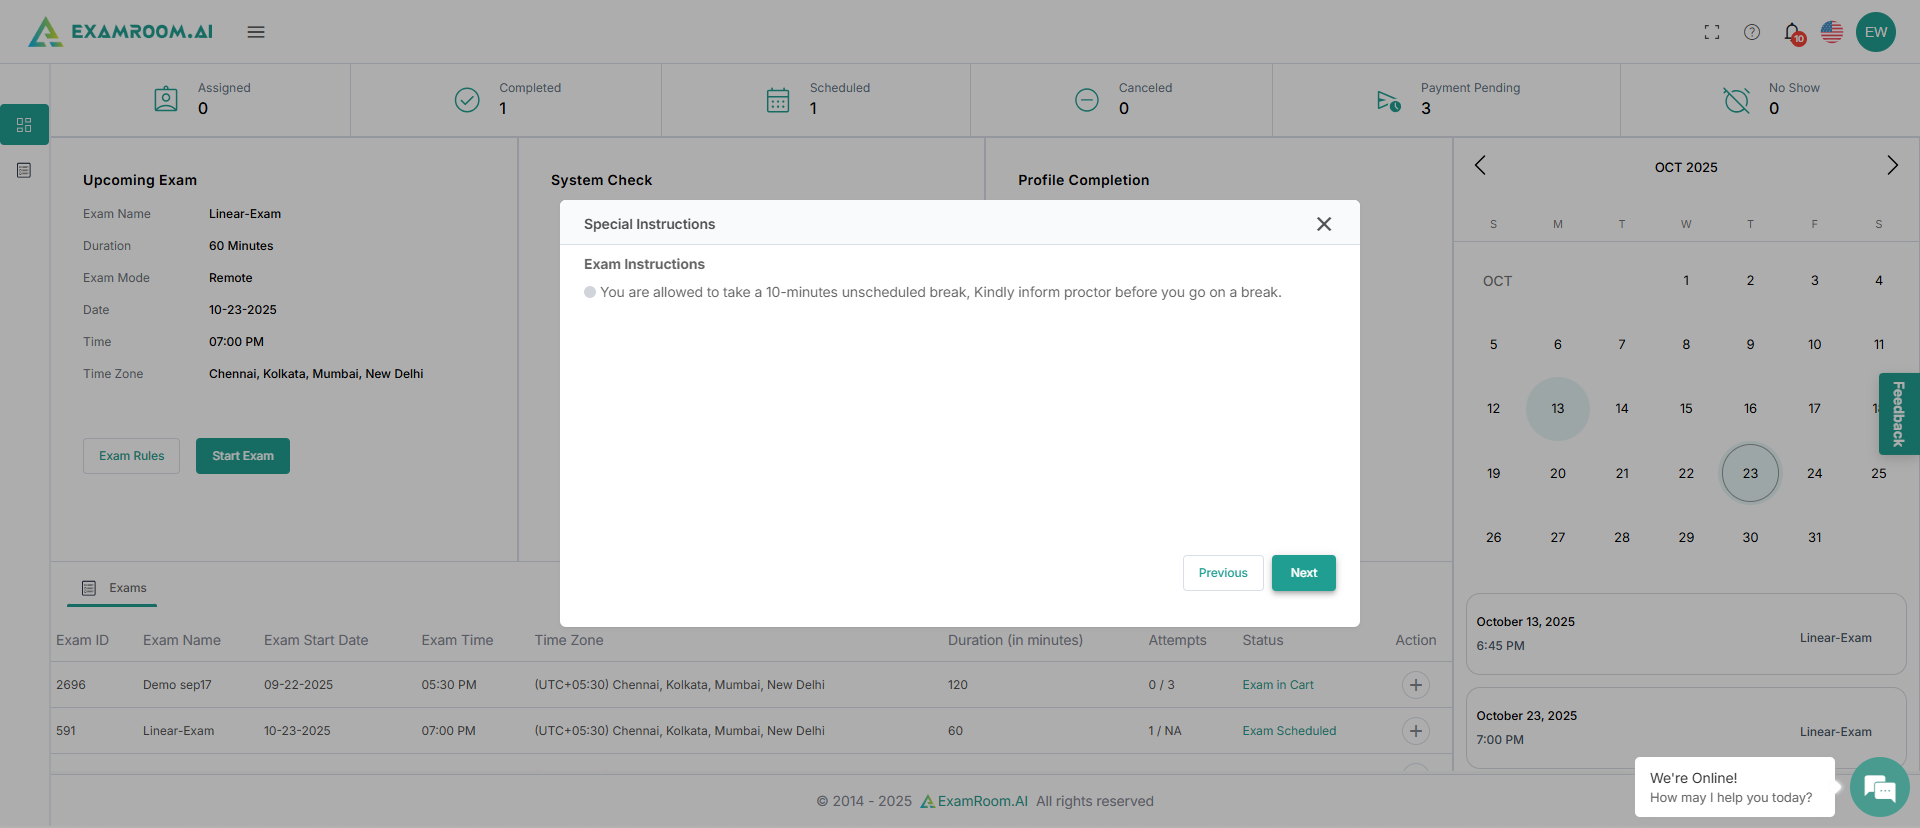
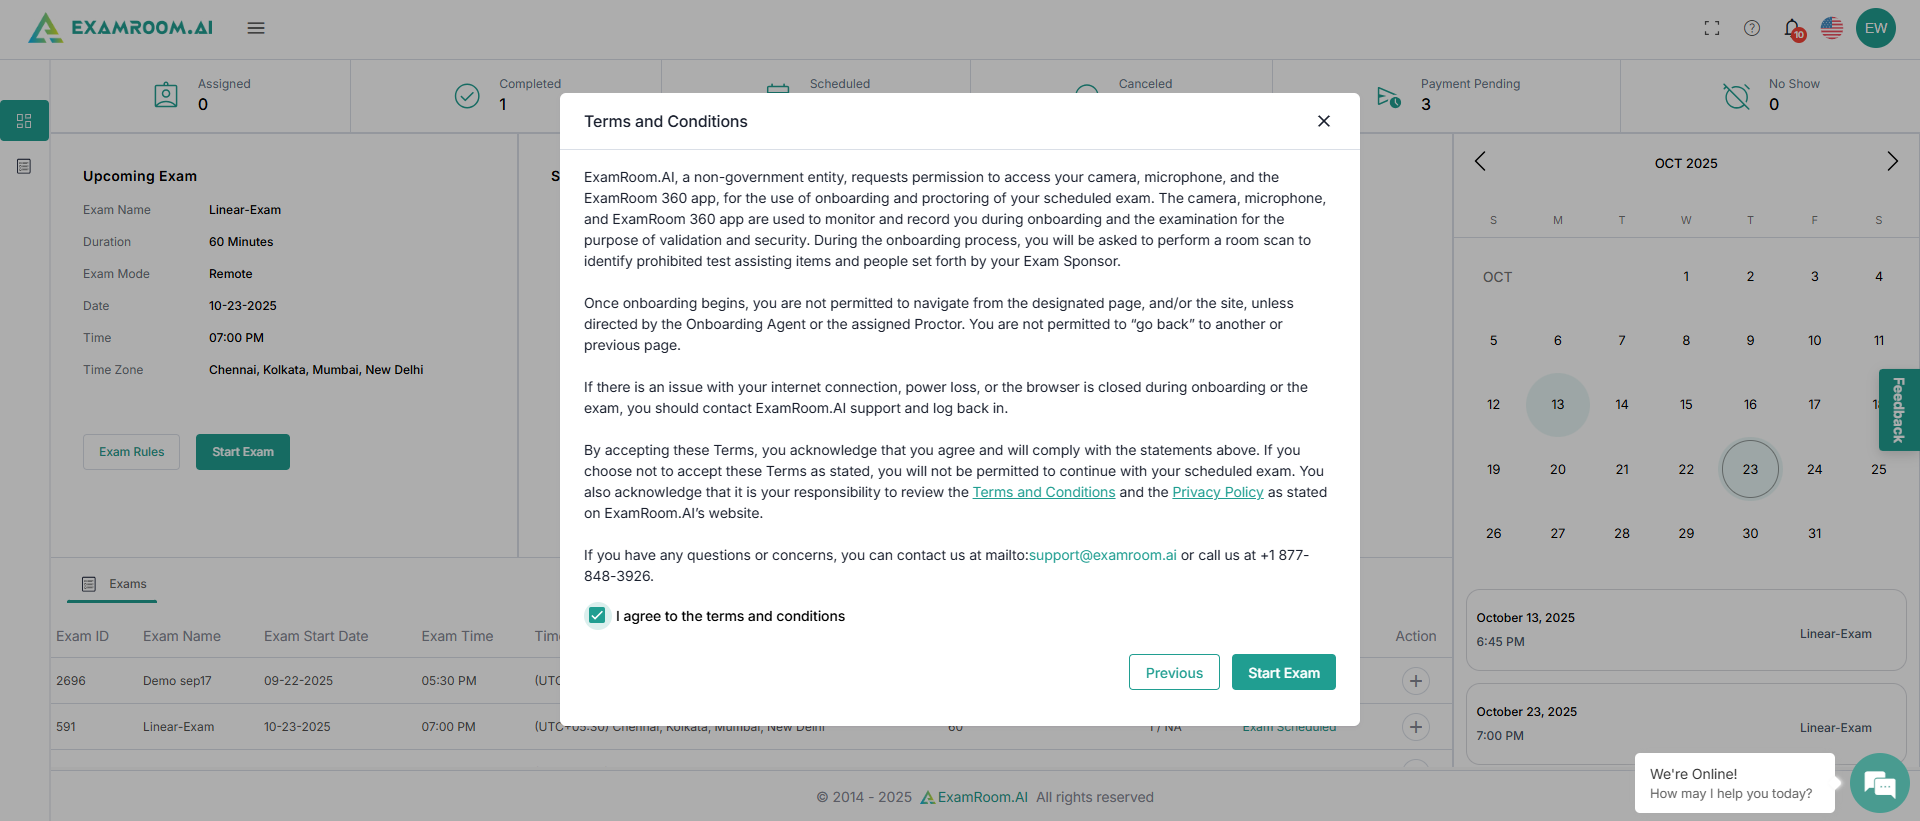
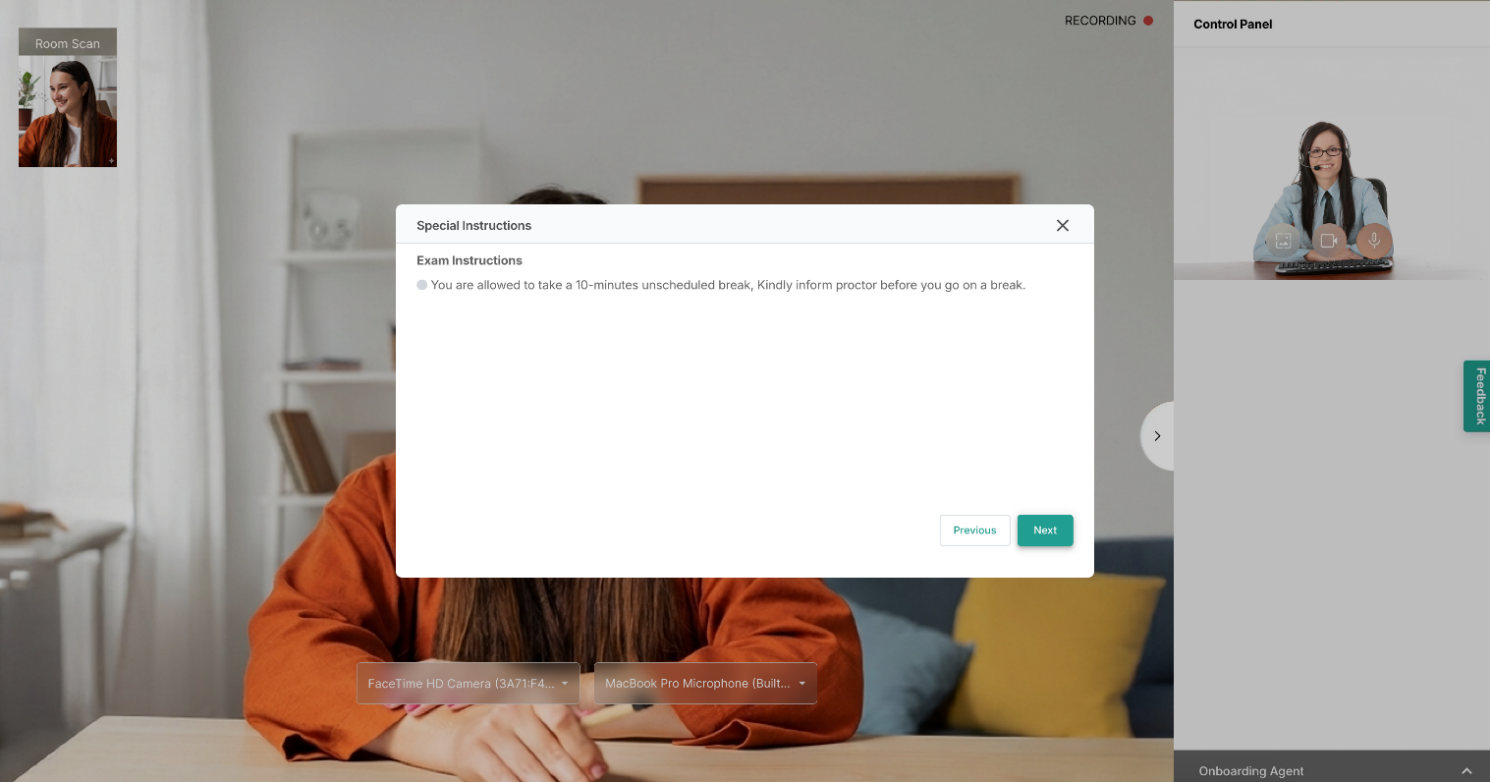
Read any special instructions provided; if none are given, review the Terms and Conditions. After reading, check the box to agree to the Terms and Conditions. Then, click "Start Exam" to begin.
System check
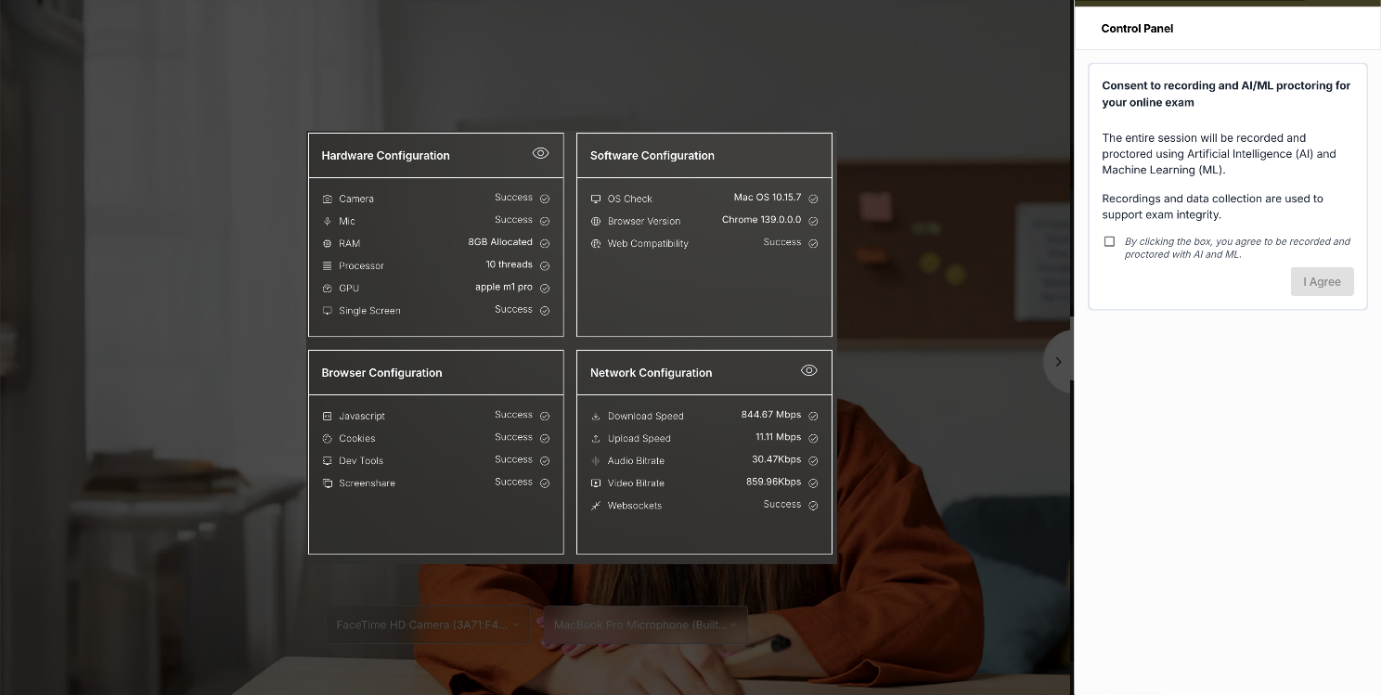
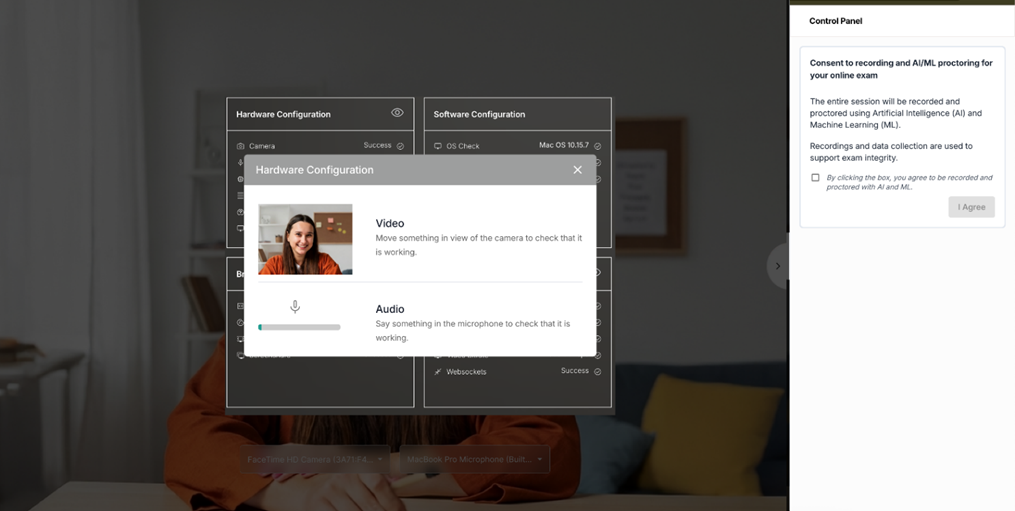
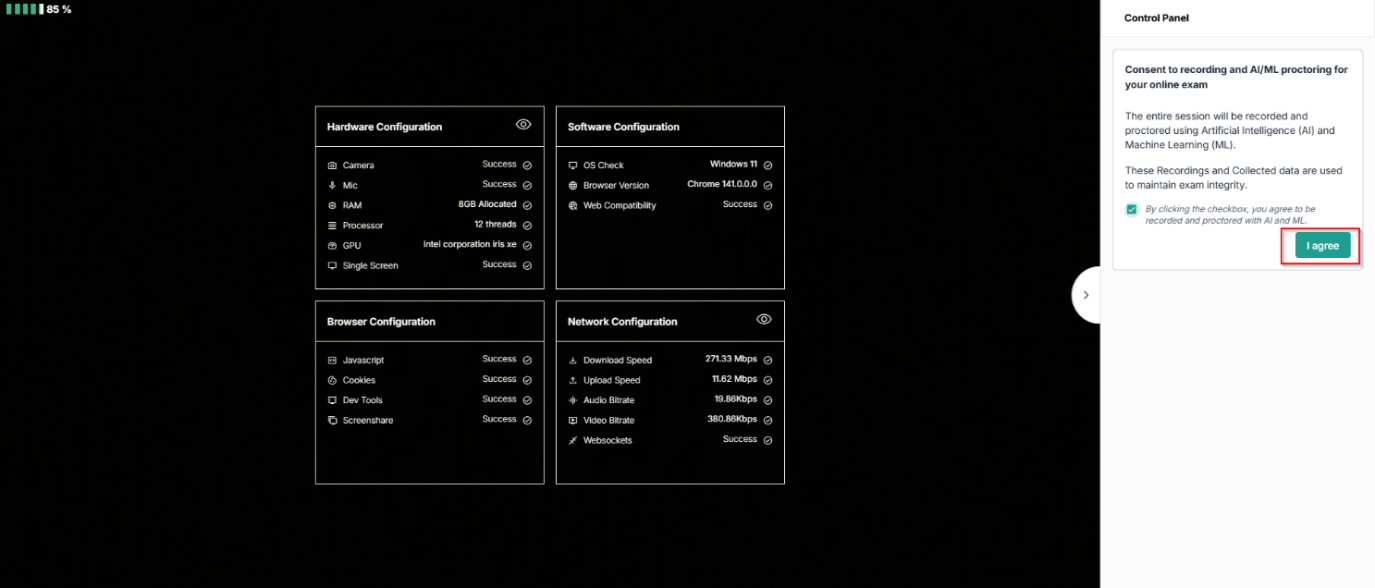
After clicking Start Exam, a system check will run before proceeding. The screen displays the hardware, software, browser, and network system configurations. Please click System Check to view the detailed process. You can also check these links for camera and microphone permissions: Chrome Permissions, Edge Permissions, and Firefox Permissions.
Click the ViewIcon placed next to the Hardware Configuration heading. It shows the camera and audio functioning. Follow the displayed instructions to verify these configurations.
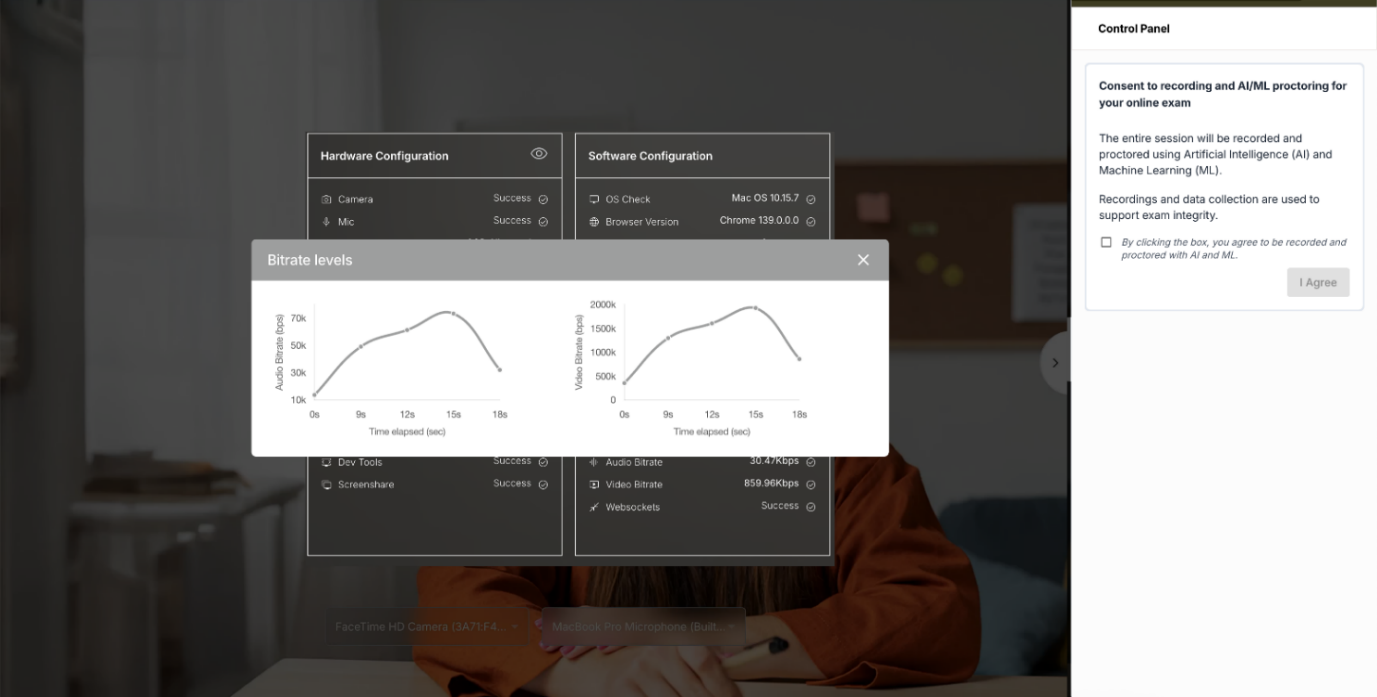
Click the ViewIcon placed next to the Network Configuration heading. It shows the bitrate levels of the audio and video.
Now, in the control panel, select the checkbox and click IAgree to provide consent for recording and AI/ML proctoring.
Onboarding
Sharing Your Screen
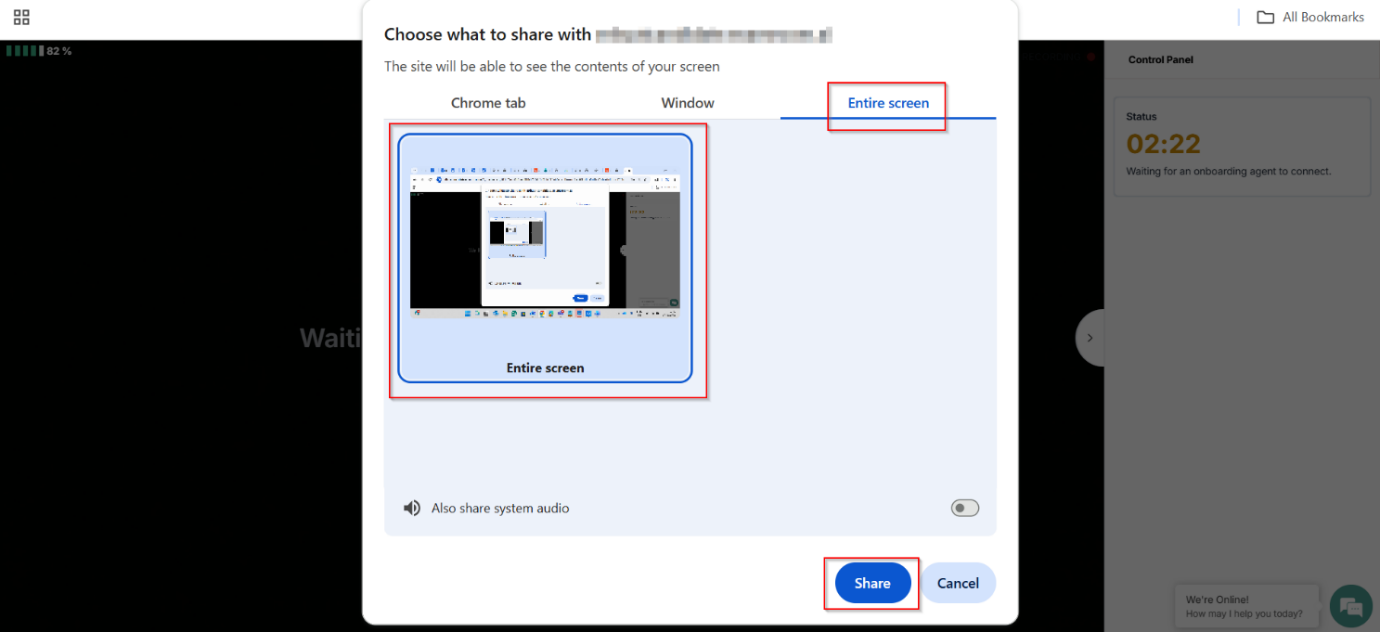
By clicking I agree, a pop-up appears for the screen share. Select the Entire Screen option, click the Entire Screen Preview in the center of the screen, and click Share.
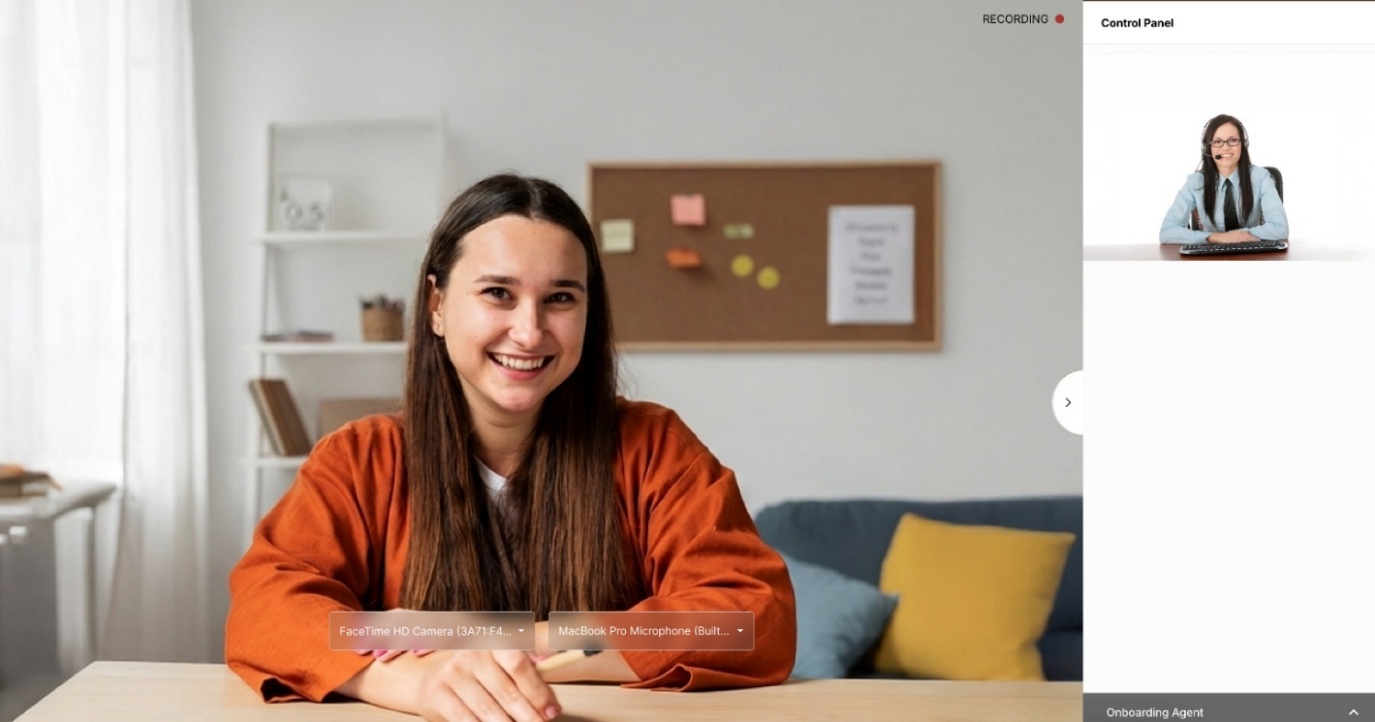
The status in the control panel shows waiting for the onboarding agent, and once the OBA (Onboarding Agent) is connected, you will be able to see them in the control panel.
ID Verification
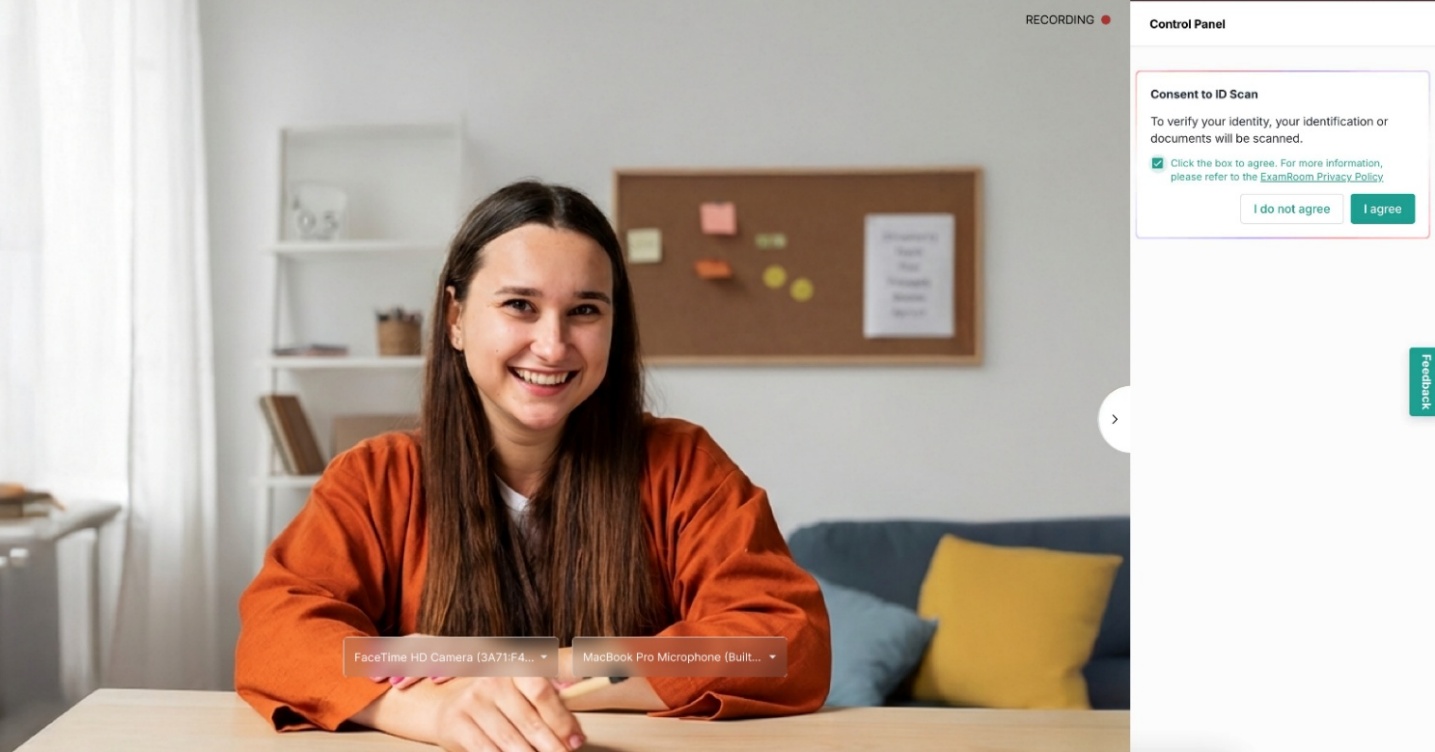
To start the ID verification steps, A consent message will be displayed in the control panel to provide consent for the ID verification.
Select the checkbox and click Iagree to provide consent for verifying your ID.
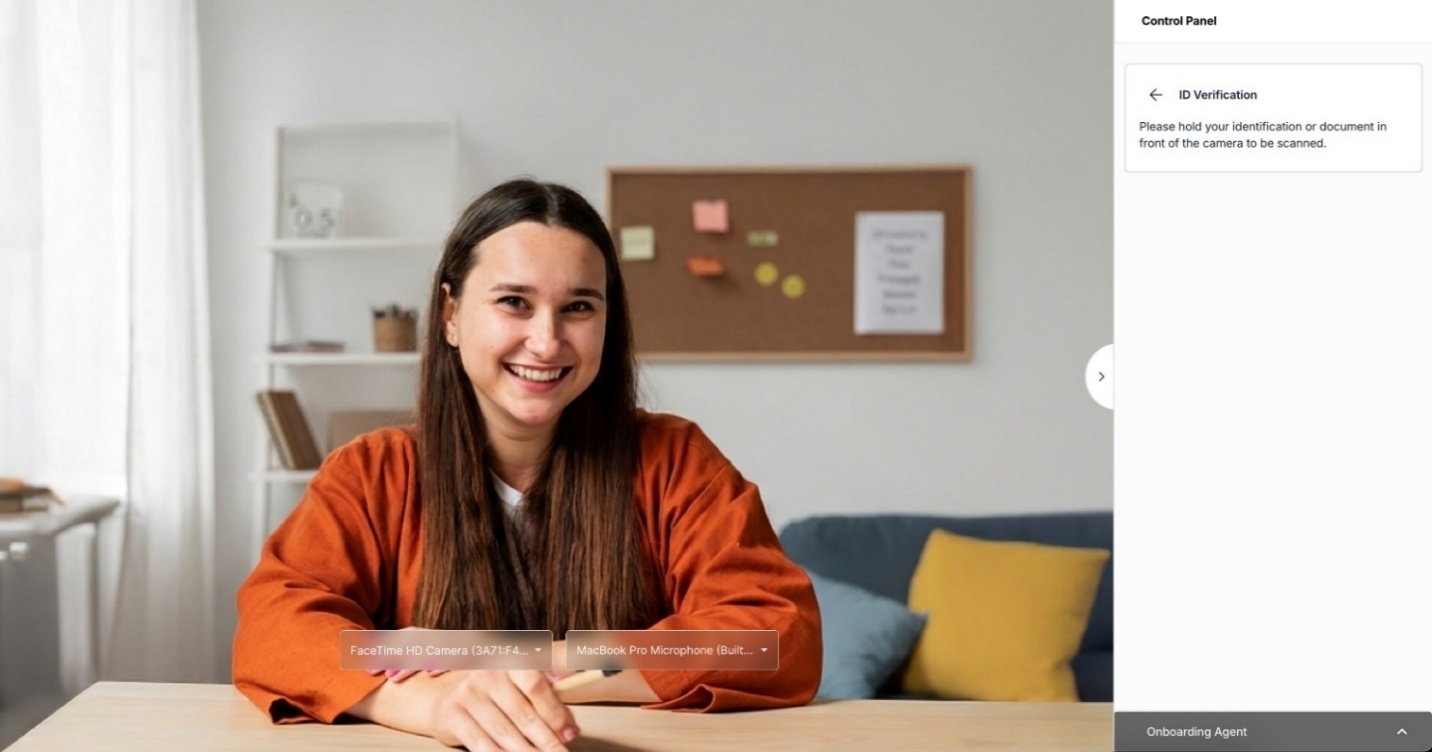
Your ID verification has started.
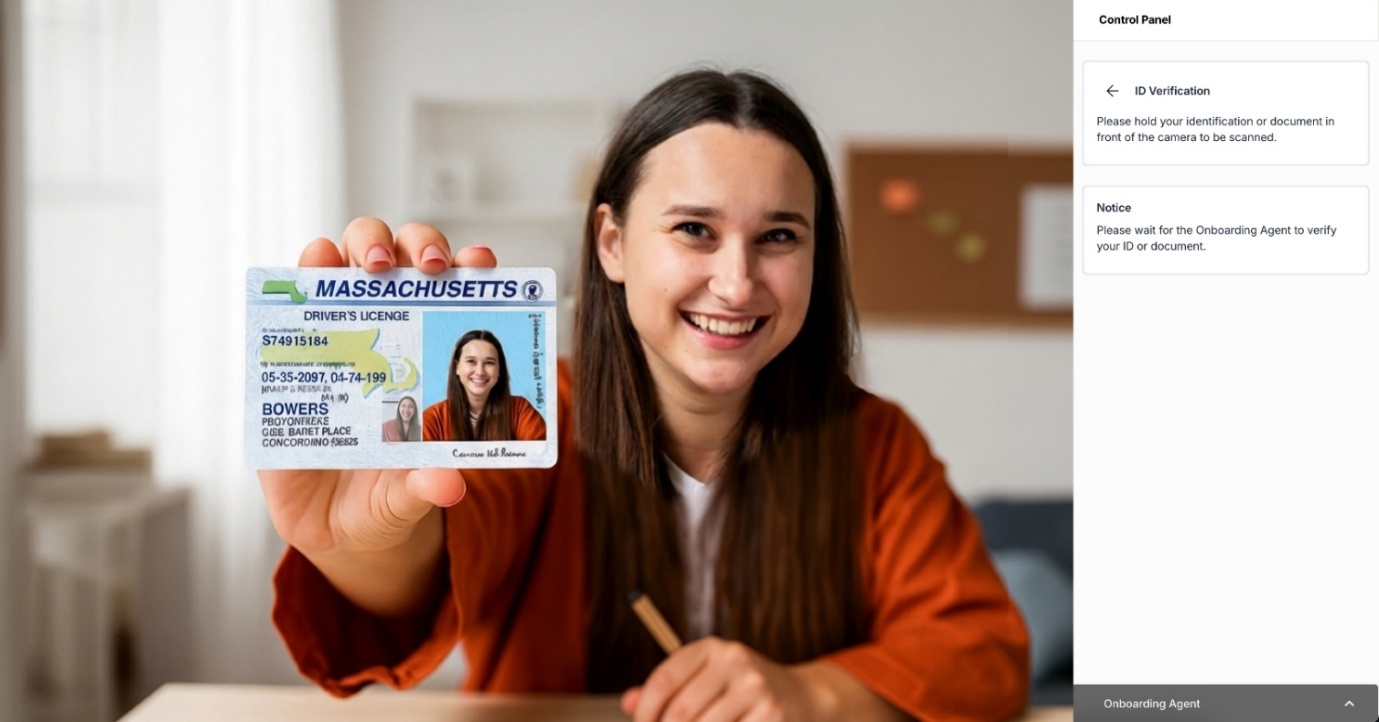
Hold your photo ID in front of the camera and wait until the OBA verifies it.
Face Verification
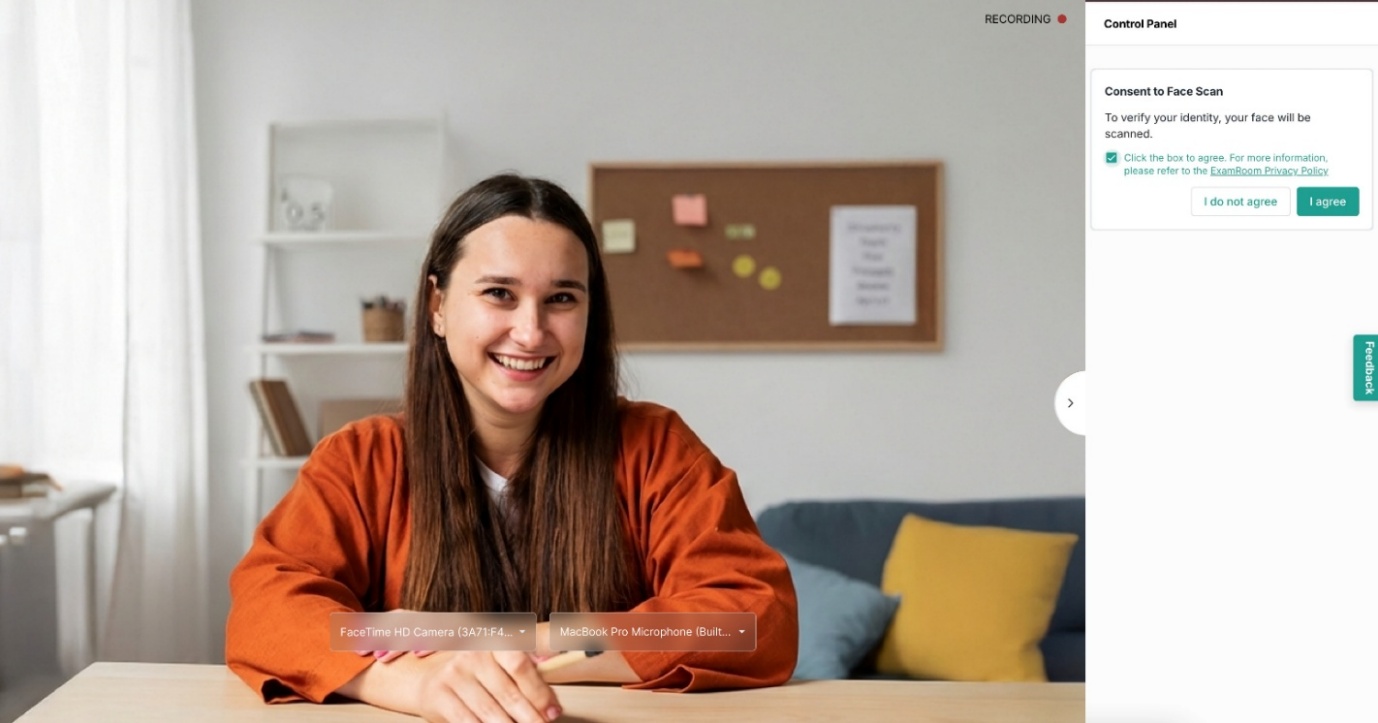
To begin the face verification steps, a consent message will be displayed in the control panel to provide consent for the face verification.
Select the checkbox and click Iagree to provide consent for your face verification.
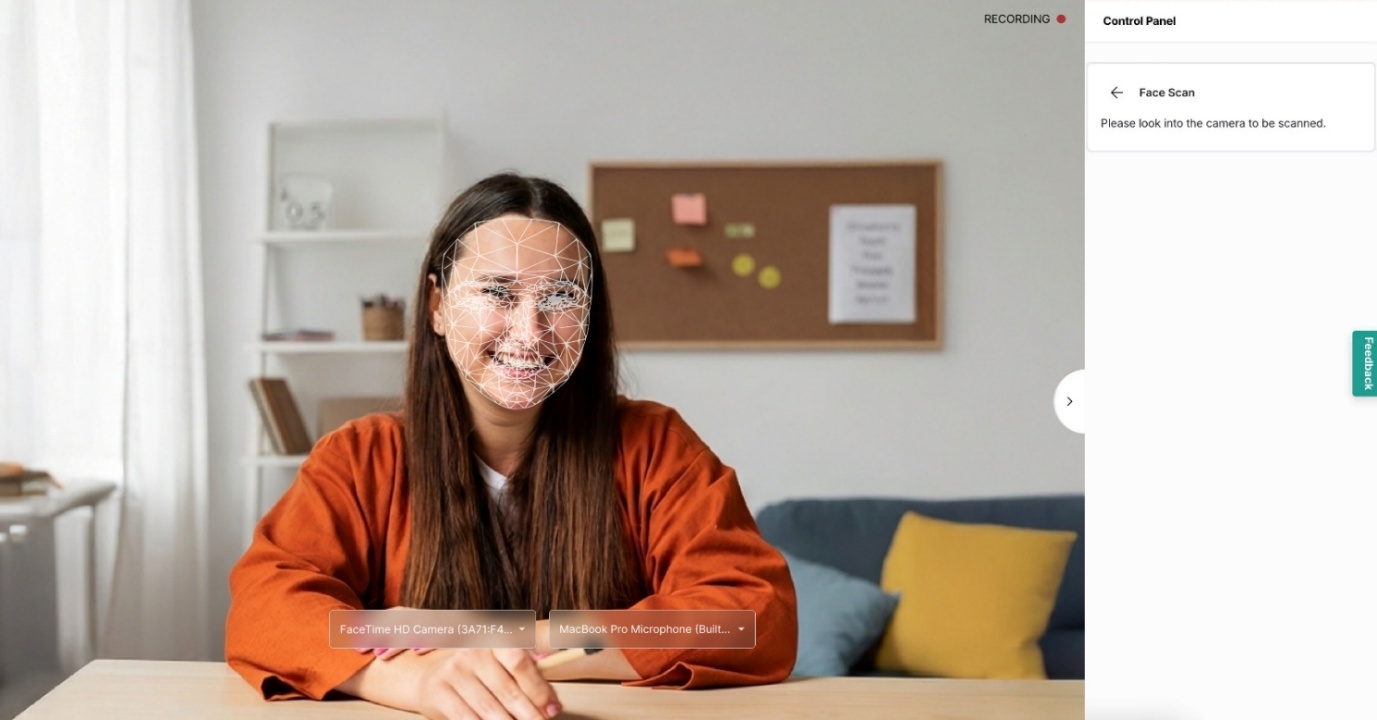
As directed by the OBA, look directly into the camera while a photo of your face is taken.
Exam360 and Room Scan
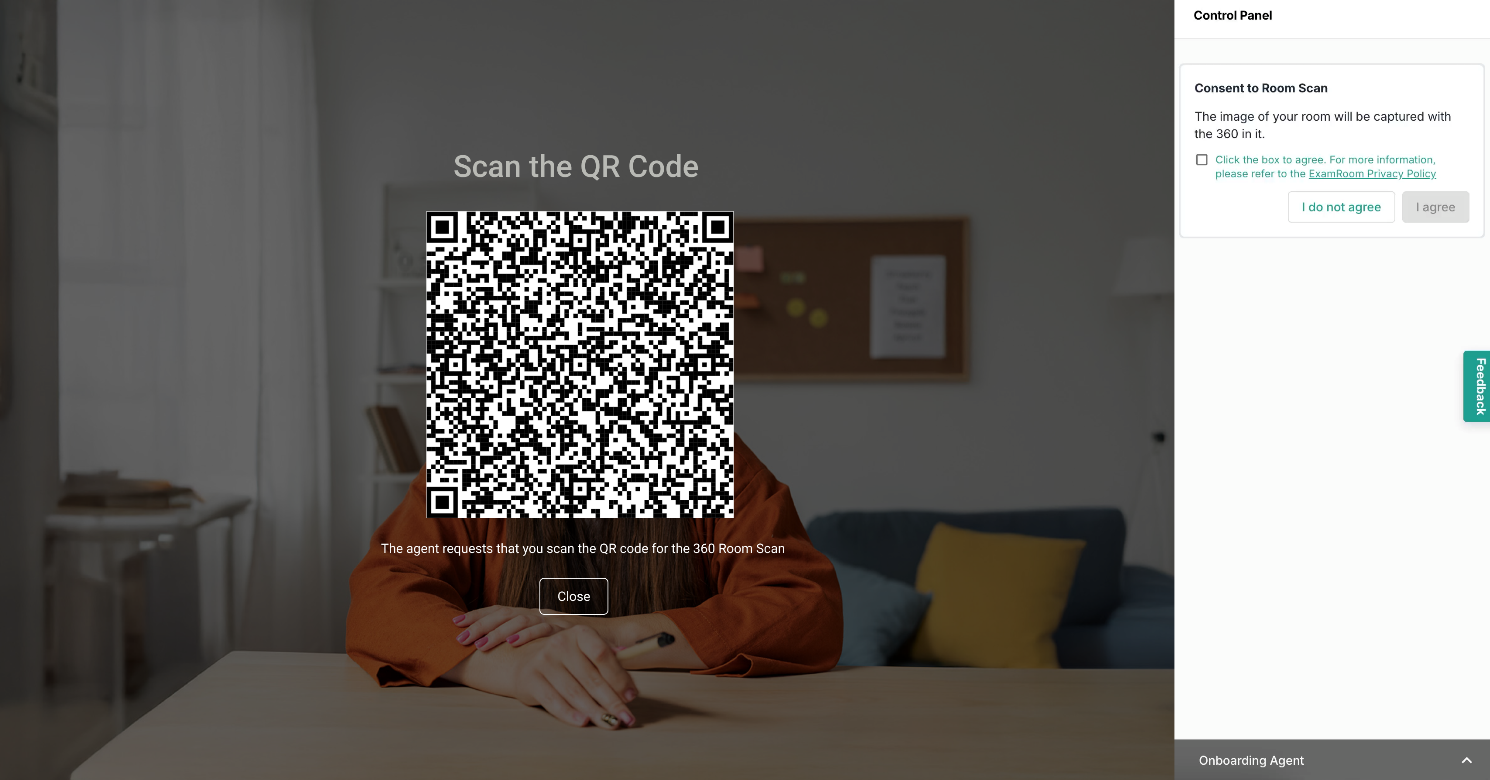
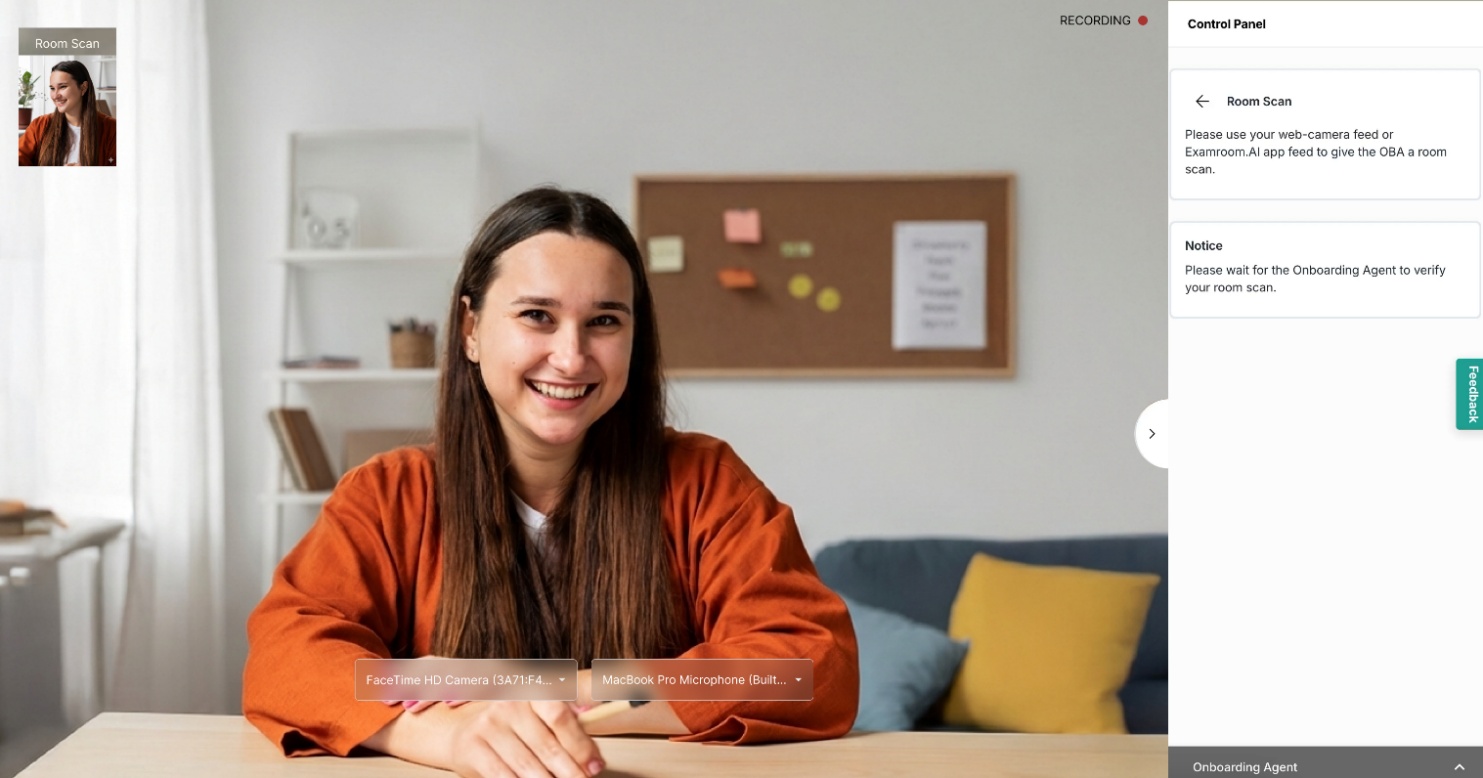
Now, to begin the process of Room Scan, the OBA triggers a QR Code display on your screen for you to scan and open the app on your phone, and place your phone as suggested by the OBA so they can see your entire testing area, including your computer.
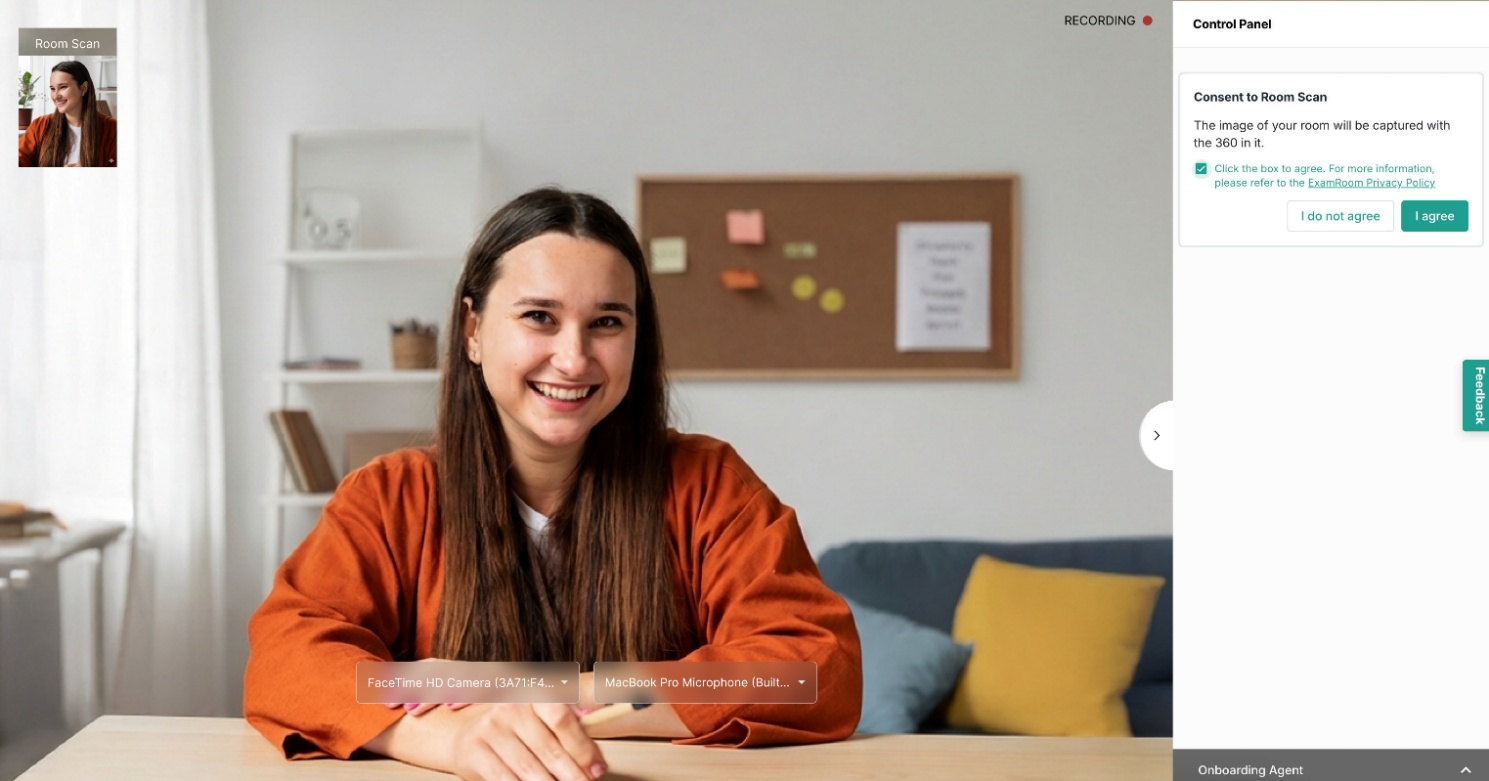
Next, select the checkbox and click "Iagree” to provide consent for a room scan.
Follow the room scan procedure as directed by the onboarding agent.
Once the required verification process is completed by OBA, you will be transferred to a proctor.
Exam Rules and Instruction
As the OBA initiates the transfer process, you will be provided with exam rules to go through. Click Next after reading the exam rules to go to the exam instructions.
Read through any special instructions and click Confirm to start your exam.
Proctoring
Proctor Session and Test Console Options
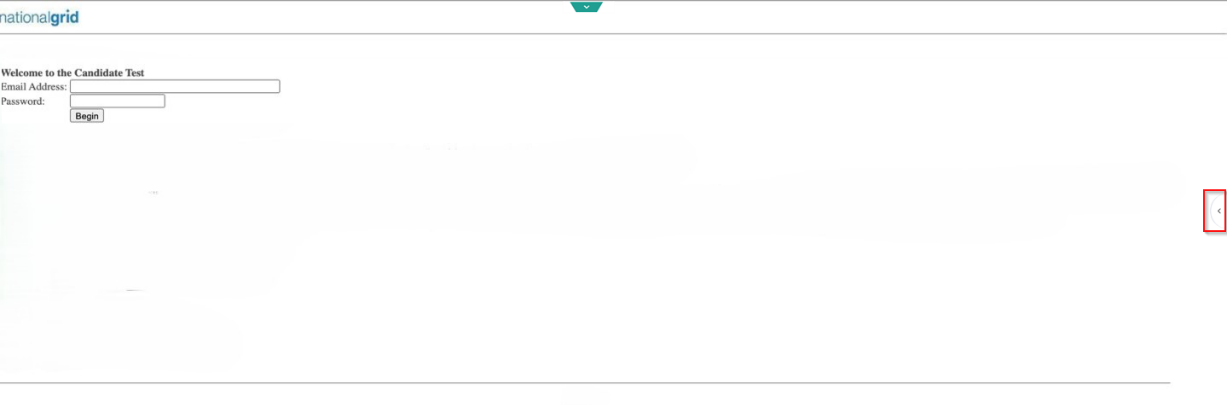
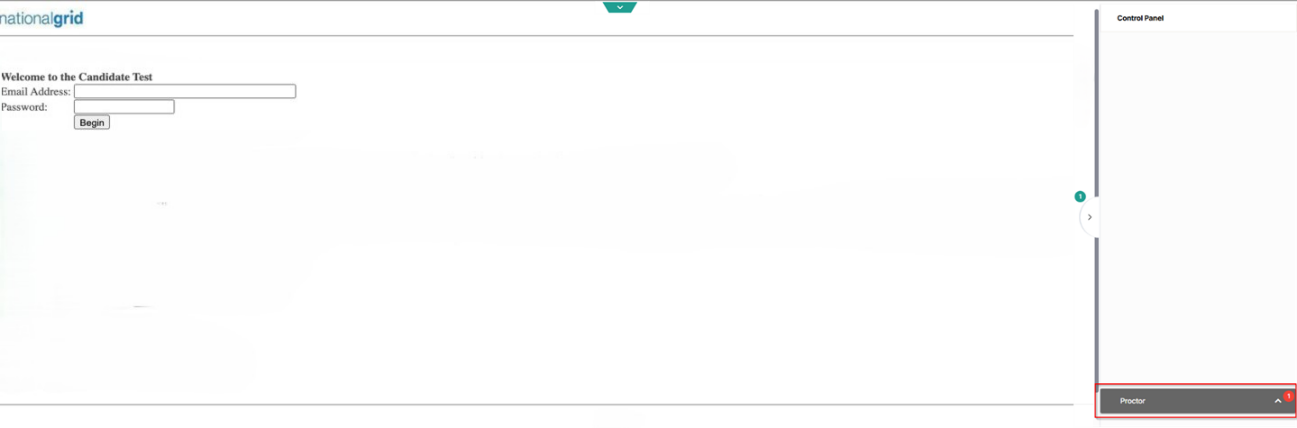
After you are connected to the proctor, the test console screen appears. When the test login screen appears, wait for the proctor to share the test login details, and enter the provided credentials (enter your email address, and the proctor will send the password through the chat box) and click Begin.
You can contact the proctor using the chat at any point during the exam. Click the SideArrow icon to open the control panel.
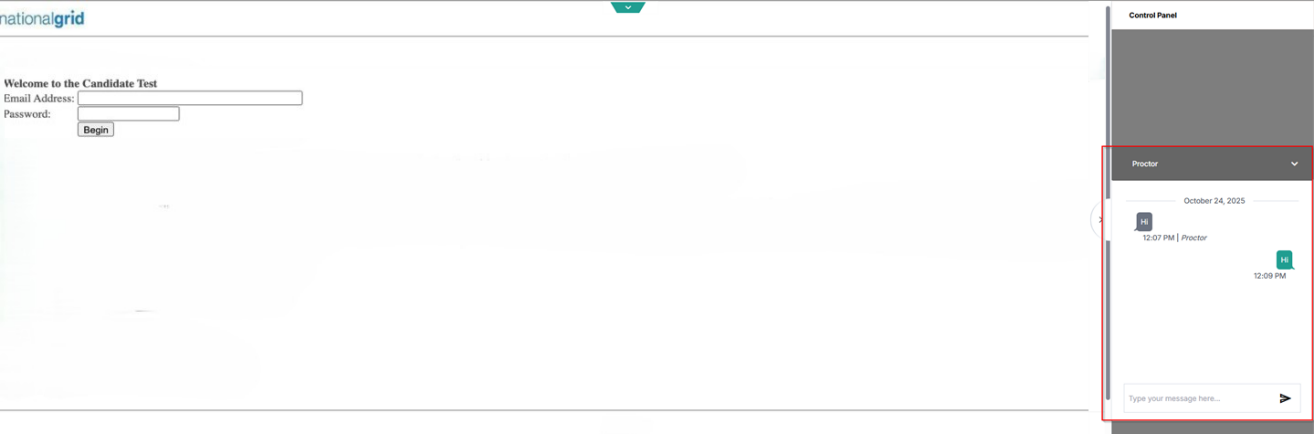
Click on the chat bar at the bottom of the control panel to open the chat box and drop a message to the proctor if any assistance is required.
You will also be notified if the proctor drops a message to you.
Click to open the chat box and reply or send a message to the proctor. The chat option will be active throughout your exam session.
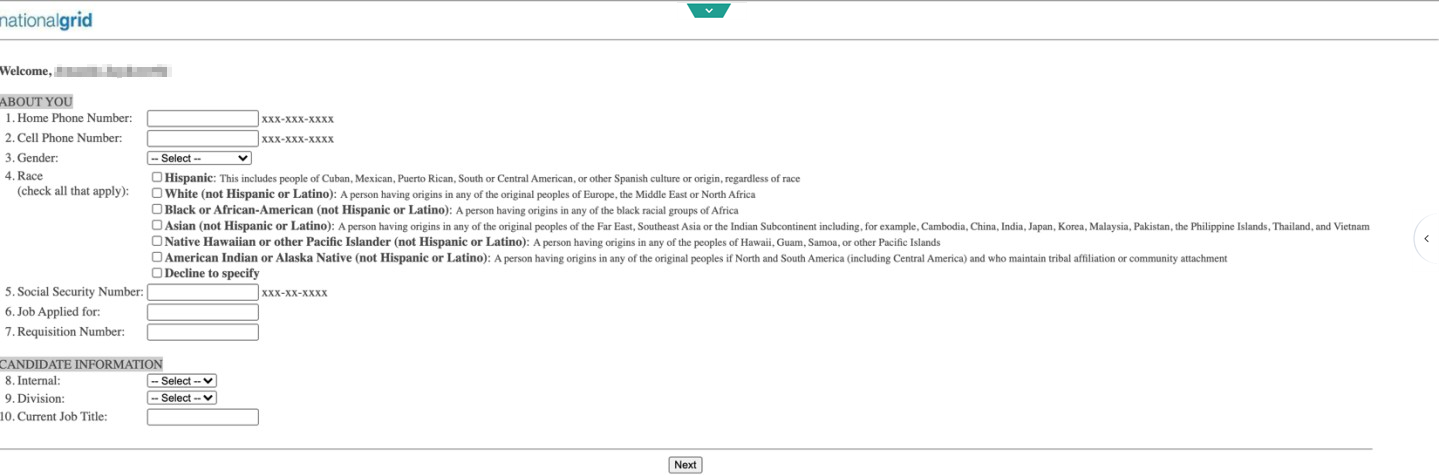
Fill the Form with the requested details (please ensure that your Phone numbers and Social Security Number are entered correctly in the required format) and click Next to proceed with the exam.
Taking Your Exam
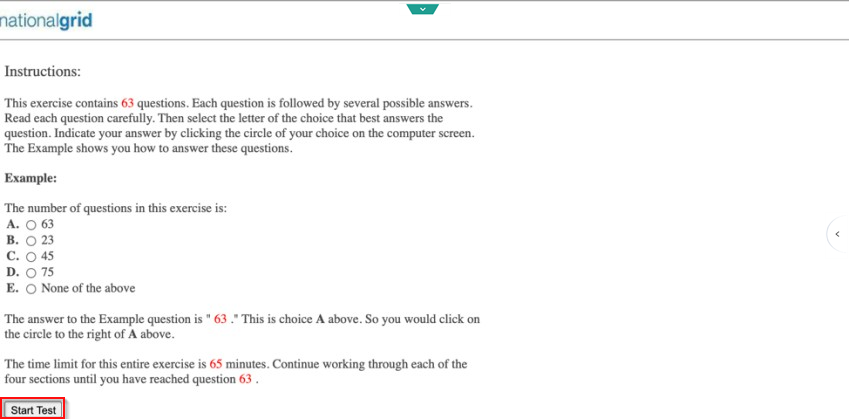
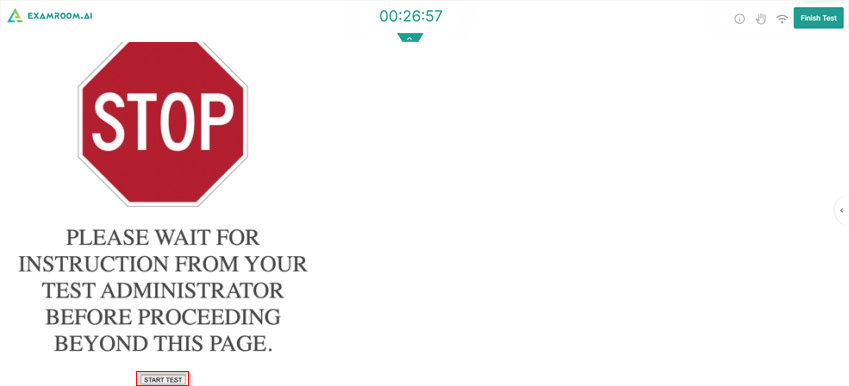
Read the exam sponsor’s Instructions and click StartTest to begin the exam.
Click StartTest again to confirm and begin with your exam.
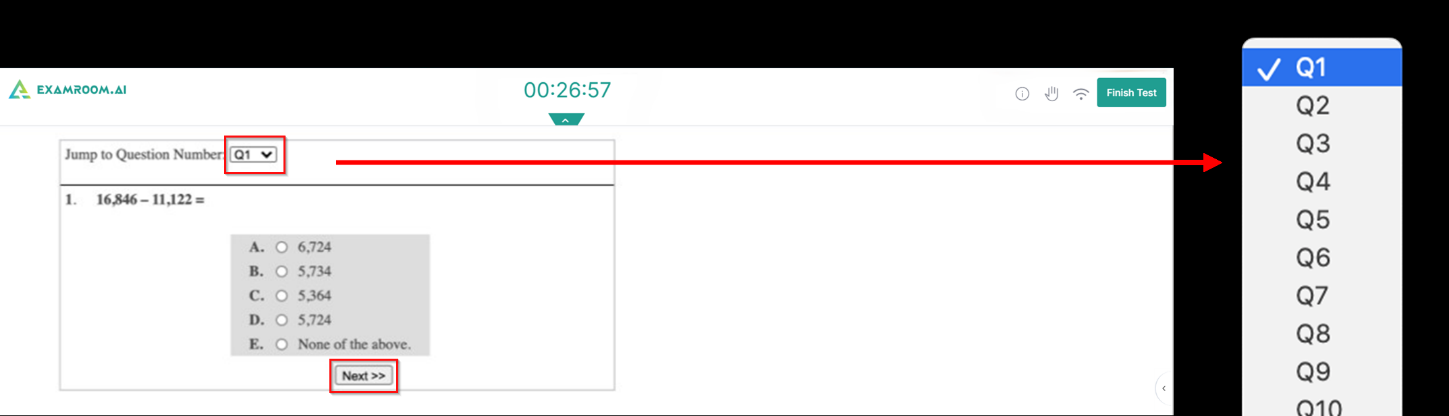
On the testing page, you can view the header of the testing screen to check the Remainingtime.
Answer the question displayed and then click Next or Prev to go back, provided on the bottom side of the displayed question.
To jump to other questions, click the drop-down Arrow and select a Question Number to switch directly between questions.
Ending Your Exam
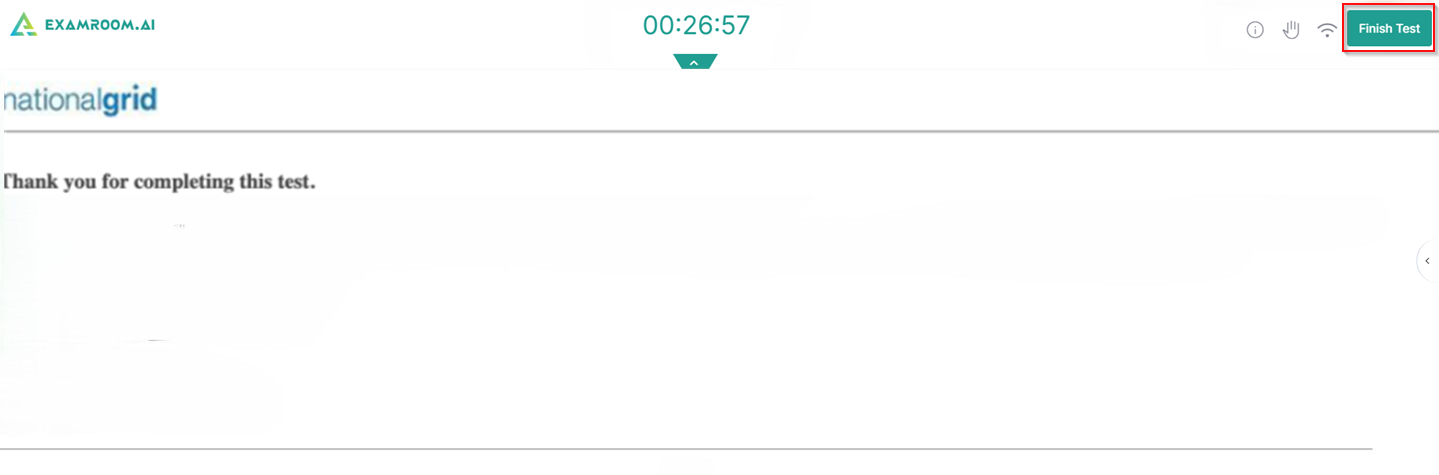
After answering all questions, notify your proctor via the chat box that you want to complete the exam. Then, select FinishTest in the top-right corner of the header.
After submitting, a confirmation message will appear with preliminary results of your test.
Open the drop-down menu provided at the top,
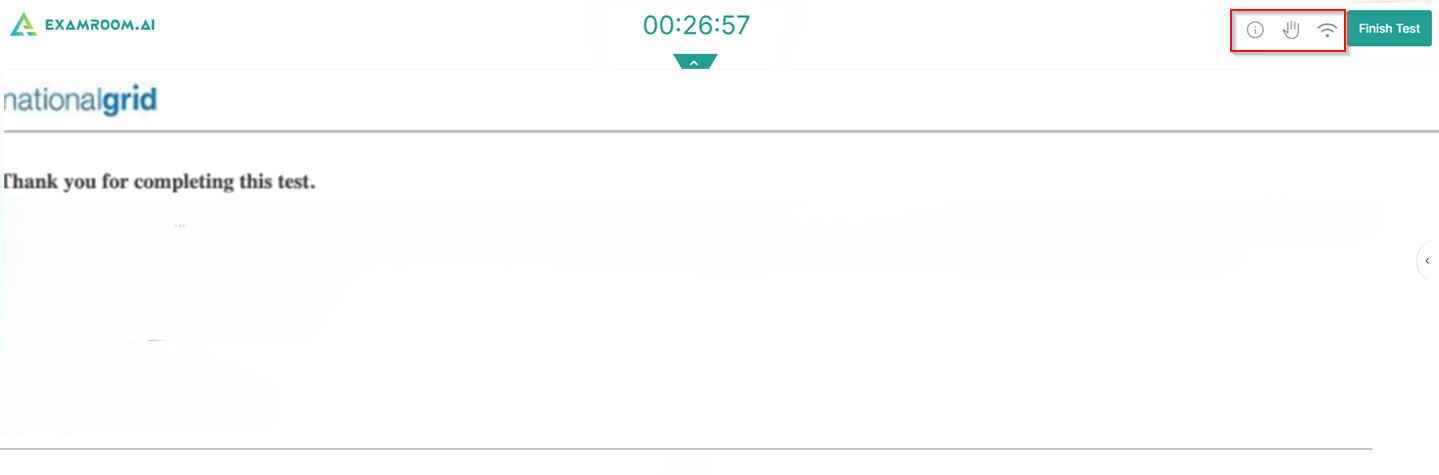
You can view the remaining proctoring time displayed in the center.
Select the Information icon to view exam details.
Select the Hand icon to raise your hand and contact the proctor during the exam.
Check the Wi-Fi icon to view your network connectivity status.
Click FinishTest to end the proctoring session.
Support
If you encounter any issues, please contact us at our toll-free number: +1 877-848-3926 or use the chat support available on ExamRoom.AI.